Installation Instructions
Items Necessary for Installation
Otter Belly Sliders
Scissors
Super glue (optional)
Industrial strength velcro
(Example product links provided at the bottom of this page)
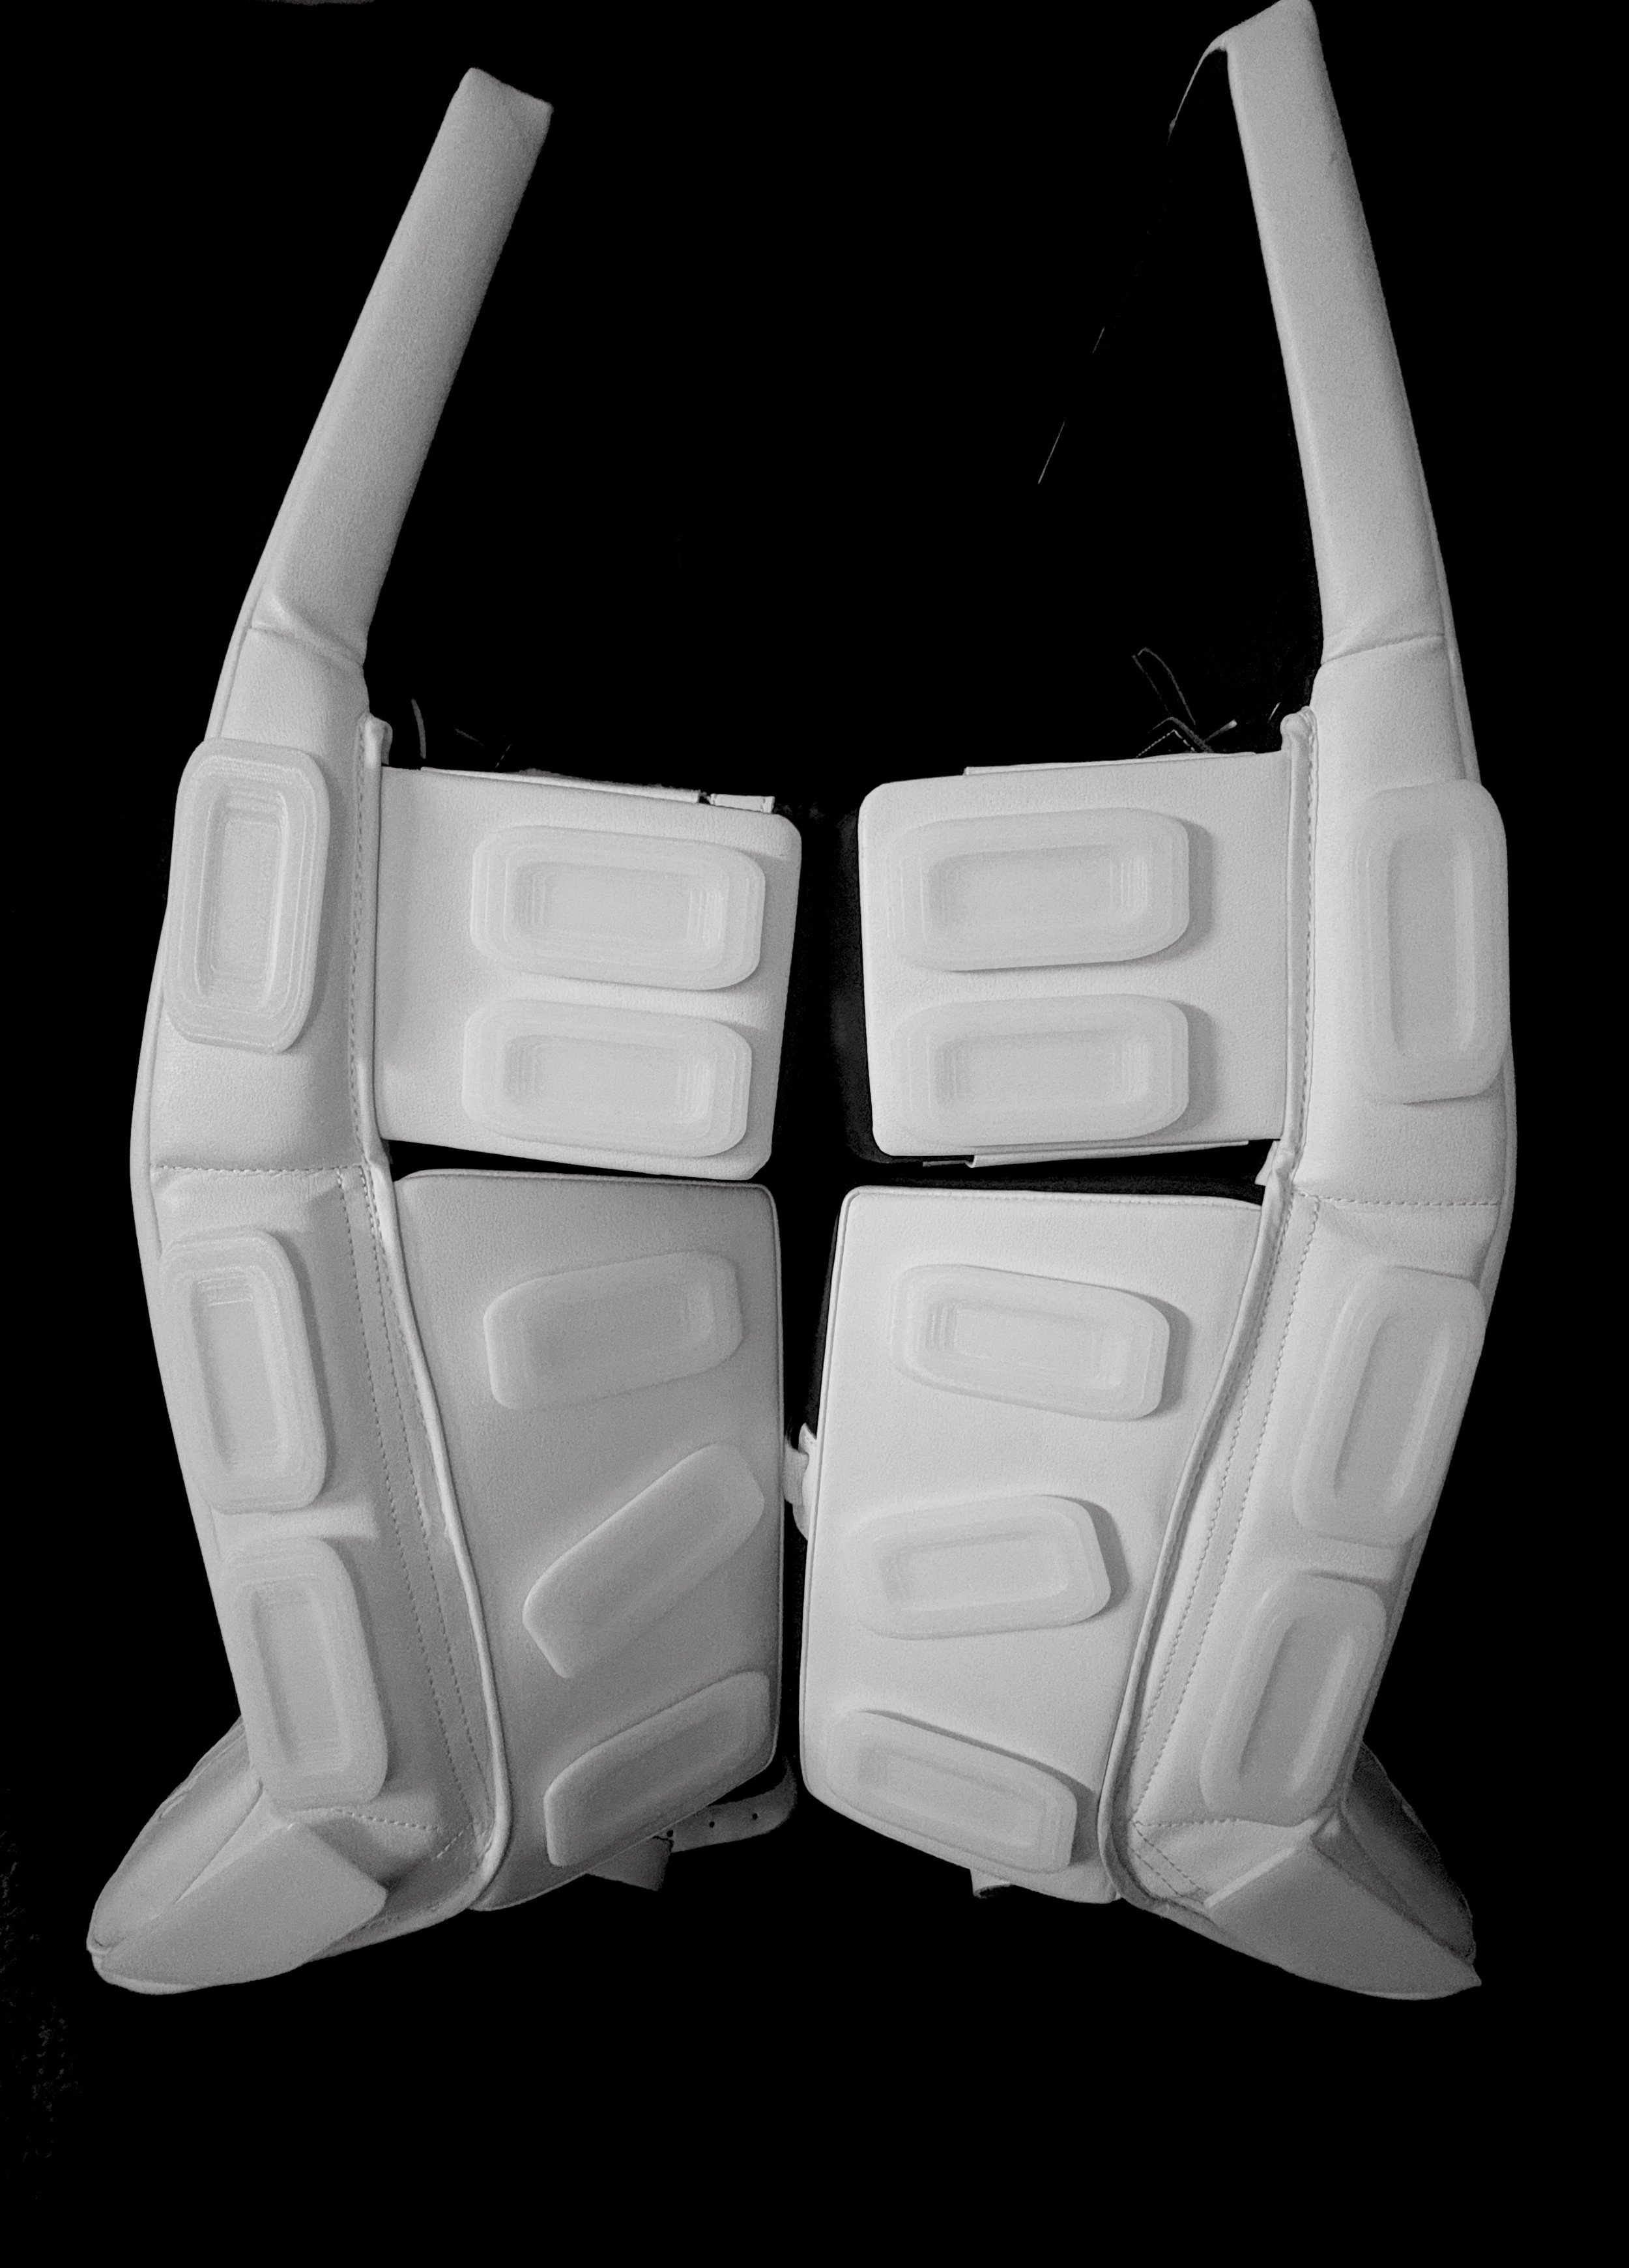
Recommended Placement Guide
Step 1 – Measure the hook (rough) and loop (soft) Velcro against each slider, then trim both pieces to match the size of the slider. Repeat for all sliders.
Step 2 – Peel the backing off the loop (soft) side and press it firmly onto each slider. Make sure it’s fully adhered before moving on.
Step 3 – Attach the hook (rough) side of the Velcro to the loop pieces you’ve just placed on the sliders.
Step 4 – Peel the backing from the hook side, then place each slider onto your pad in your desired position. Press down firmly to secure. Repeat for all sliders.
Optional Tip:
If you’re playing in extreme heat or cold, you can add a small amount of super glue for extra hold. It’s not required, but it can help improve durability. If using, apply during Steps 2 and 3.
Have questions or need help? Reach out anytime:
otterbellyhockey@gmail.com
Thanks for your support, and enjoy your setup!
– Otter Belly
Below are some links to Industrial Grade velcro that we have used personally!